

Founder & Owner of MGB Guitars & Parts Supplier Michael Breedlove discusses the technique he uses to cut the opening on cigar boxes for necks.
Watch the video here:
Want more videos? Subscribe to our YouTube Channel!
Video Transcript
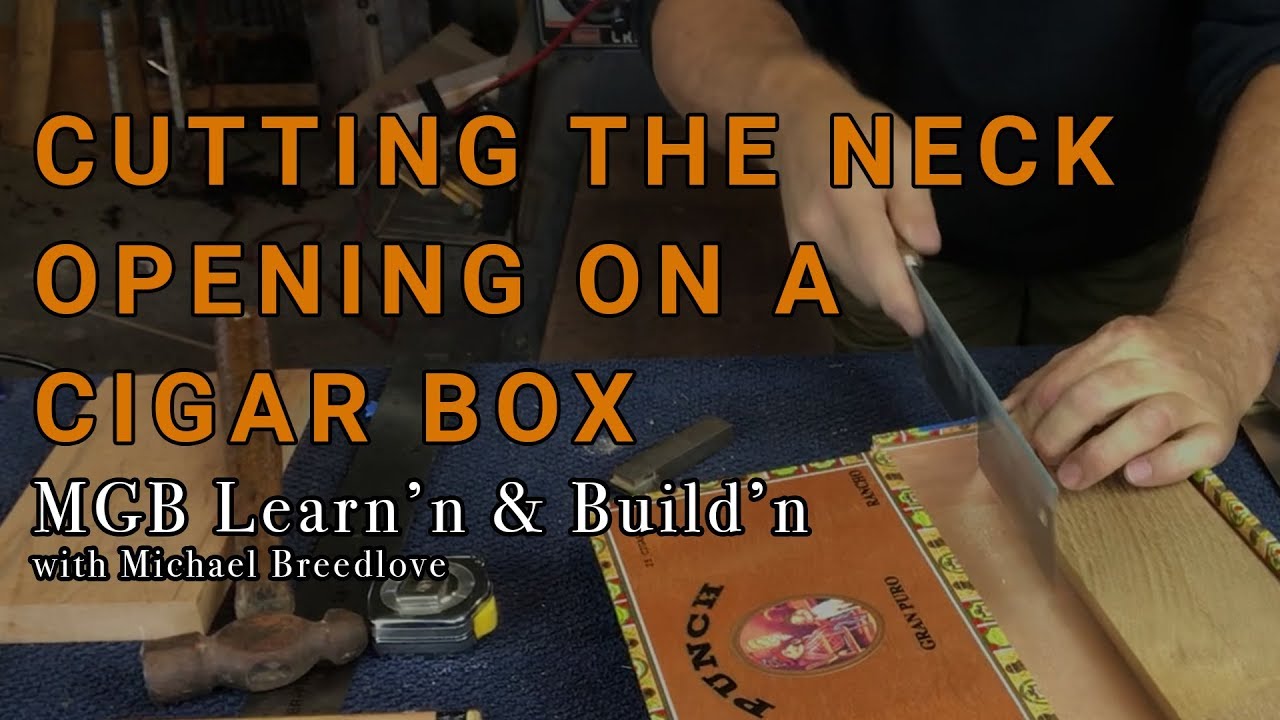
let's talk about putting an opening for a neck in a cigar box I get a lot of questions from a lot of builders on how to put the opening here for the neck I know there's a lot of ways to do it I've done a lot of experimenting over the years just just all kinds of options on how you're going to put a hole in the box to receive the neck but let me share some of the ideas and some of the things I do on putting in a opening for a neck this is an interesting box as a grand puerile buy punch got one of the coolest decals labels that you'll ever find on a cigar box really really neat nice little box a little on the small side plenty long enough but a little on the narrow side about six inches but I'm gonna go ahead and talk about cutting and opening in this box first step I like to use a lot of blue tape and I like to kind of map out what I'm going to cut before I cut it so I take the blue tape and I put it on kind of the front face and I put it on kind of the top when I do most of my boxes I like to have the neck inset into the box a little bit it just makes them look a little nicer to me so that's what I try to do so I'll cut into the Box a little bit so the neck will slide into it but once I get the tape on there then it's a process of beginning to outline the cut that I want to make and it's pretty simple pretty straightforward one of the tools that's really handy that if you don't have one I suggest you get it it's called a center finding ruler I've talked about these before and again basically what it does is it has a normal scale on the bottom zero through but on the topside there's a zero point in the center and it starts to increase this way and it increases this way into the time so this is zero and this is one this way and one inch this way the neat thing about this tool is that you can lay it on a box and if you match up the dimension on both sides then this mark is right at the center it just so happens this box is about six inches so I'm about three inches on each side and then what I do is I go ahead and put a mark there so I know where the center of the box is now I've already marked this ahead of time but I'll kind of show you how I mark it as a as I'm doing it so I come across I know my center line I just like to drop a center line and know where to where the center of the boxes and then the neck that I'm going to use and most necks are this way for cigar box guitar is about an inch and a half wide again using this ruler and centering it up having it on the center what you can do is you can come over and Mark / this way / this way and now you've got the beginning of a / inch slot another tool that I have is just this little machinist square and what I do then is once I've got the / inch mark I will come and I will drop a line down on that side and I will drop a line down on that side and then I'll look at the end and I'll take and see where that line is and I'll come down and mark this end and I'll mark this in as well so now what I've got is I've got the layout of the inch and a half along the top over the side and down the next step is to figure how far you want on the inset I'm just going to use an inch on this for this example an inch this way and let's say we're going to do about an inch and a quarter this way so so I mark it then I take a bigger square that I have and I actually come in and I marked at the bottom and then I marked the backside of the opening on the top if you look at it pretty closely what you can see is I've now kind of outlined the opening that I want for my neck I determined how far I want to come in how deep I want to go so this is the opening that I want to cut and this is where I just tell people to go slow the temptation is just to grab a slaw and sorry but you're better off taking your time and doing a more precise operation on this what I suggest is to get a razor knife and it's worth the effort to go ahead and change the blade and get a really sharp blade and then come in and actually take your straight edge on your square and score it with your knife score the top and the bottom let's talk a little bit about wood and why that's important I think all of us know that wood has a grain and it tends to run this way or most of these it's the long way and trying to cut and eventually break or saw going along the grain is the easiest way of doing it when you go perpendicular of that and you're cutting across Brett grain it can be really tough and that's when you can run into problem if you start sawing across there you'll get what's called chip out or break out and it really look like it's a pretty ratty saw line so so what I like to do on certainly on these boxes is come in and again use my square lined it up and now I've got and I don't put a lot of pressure the first time but then I come back and I increase the pressure so I started off by penciling the marks and now I've come in again with a knife and made some score lines also going to do that on on the the end [Music] now I've got those scored I need to find a straightedge to come across and do the end and again start off with light pressure and then maybe in the second and third strokes you can actually go down a little bit deeper so you've got a nice crisp edge there I'm gonna do it on the end as well you have a nice sharp point so we've got that squirt so we scored it with our sharp knife looks pretty good what we've done is on the ends where the grain runs this way we've in effect come across and we've cut across the green we've cut perpendicular to it and that's going to make for a little bit nicer finish won't have as much chip out on it so then now that we've got it marked and we've got a score we've got to talk about cutting it out and here's a few ideas and a few tips few things that I find that works pretty well sometimes when I'm doing a box what I do is I cut a block of wood that fits tightly on the inside because when you're messing with this and it's a little bit flexible you can have problems you could now just start to saw this or what you could do is actually go to a different step and actually begin by chiseling it and again if you didn't have this block in here you would never be able to chisel this so you can come in and where you have a score like we're gonna chisel a mark I keep the taper on the chisel to the inside now if you're really brave and you really want to do this fast you can drive the chisel all the way through but I like to just make my marks and then now that I drew a lot I took my razor scored it I took my chisel and I made it a little deeper it's usually pretty easy to solve this I go ahead and leave this block in there and it makes it real easy it'll kind of keep its tip while you're sawing and I use a really fine blade saw just a good tool a very narrow curve works really well there's a lot of them out there and what I find is because we scored the line and then we took a chisel and we made it a little bit deeper that the saw tends to follow like maybe the point of least resistance and it tends to like to follow that line that wood that we've created there let's go to the other side again we've got a blocker in there to kind of keep it nice in firm a few drawers to get it started [Laughter] and we make sure we've got it done looks pretty good now here's another thing again as we talk about wood knowing which wood we're dealing with most of these boxes are made of Spanish cedar very thin here we have a end piece here we can tell by looking at either on the outside or the outside that the grain runs this way the grain is running this way we cut across perpendicular to get this opening but what I can tell you is from experience that you know if you look at that it's kind of hard to figure out how you're gonna get a saw in there but what you can do is again because the fibers of the grain run this way we can actually take the chisel and we can go a little bit deeper I'm going to catch those lines that we scored with our razor now because then I've had pretty good experience it just snapping them out this one took a little bit more out of the inside than I would have liked but you can see that I've actually got the opening and it's fairly smooth you'll need a file you can come back in later on and you can file and clean up the sides well take a look and see how we did on the breakout again because we scored it we hope we are minimizing the amount of breakout and by looking at it we actually got a pretty nice cut here that's pretty clean these edges are pretty clean we can file them sand them touch them up and make it look a little bit nicer now let's talk about doing the top now as we talked about when we talk about the wood and then having a grain and be able to to snap it cut it and break it these tops and a lot of tops of boxes are actually made of plywood and that makes things a little bit more complicated because with plywood different than just a regular block of wood we've got several layers of wood and one layer the grain goes this way the next layer it goes this way so you're not going to get the benefit of trying to break B with a grain of wood but anyway we have kind of the opening here we know what we're going to do this is a again where we we've scored the lines what I'm going to go ahead and do on this I've got a little maple block that I keep here that's nice and hard I'm going to take my chisel place it in the groove come down and mark it go to the other side again place it in the score now I'm gonna go a little bit deeper here and you'll see why so again I've taken my chisel gone into the score lines and what I can do is because I'm able to get the saw in there hang it over to the edge of my table top it's a pretty sharp blade so it it cuts just on the downstroke so now I have I've cut that the two sides it's a little tricky trying to find a way to get a saw in there so what I typically do is again on these thinner ones is pretty easy that's where a nice sharp chisel comes into play because what you can do is again put it down in there a little bit hanging on here on this end will clear try and clear that up if you look on the backside I got a little bit of break out there so you can see I chisel out the backside and it's it's pretty square pretty flat looks pretty good again as you're getting ready to finish it and do a little bit more work you can grab your file file file the size and remove the tape and I think we've got a pretty respectable opening I think it's pretty respectable the sides are clean we can sand it and make it even a little bit nicer but I think you can see we've got a pretty decent open ready to receive the neck maybe a little bit more sanding a little bit of touch-up I can see a little high spot down on the bottom I'm going to come in take my file flatten that out and I'm pretty pleased with that pretty square pretty straight did a good job on the edges not Chuck not too much chip op looks pretty good and it's ready to go hope you find this helpful a lot of ways to do it the experiment try and get a bunch of boxes see what you can do is pretty straightforward again start small start with the tape the pencil what you want take a razor blade score the lines chisel the deep in them out a little bit more and then the Sawyer to come in for the finish and then file and sand is needed I hope this was helpful take care