

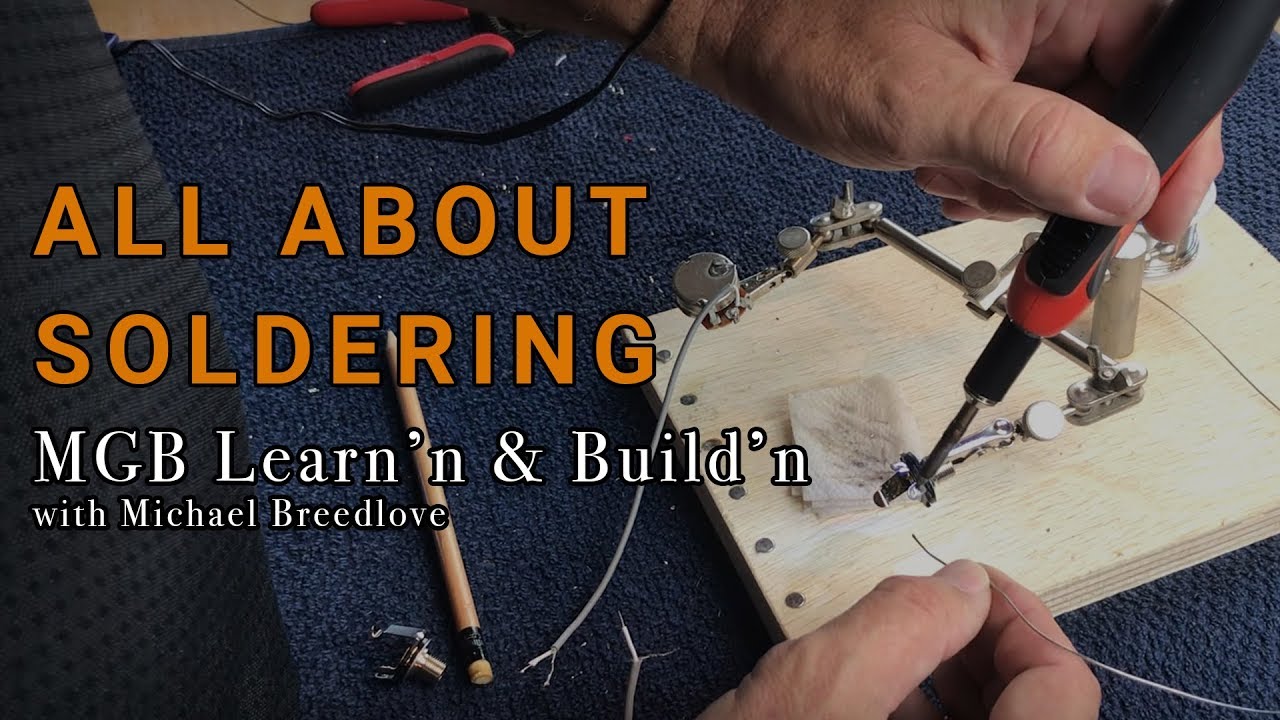
Founder & Owner of MGB Guitars & Parts Supplier Michael Breedlove gives you a detailed look into everything you need to know about soldering for guitars.
Watch the video here:
Want more videos? Subscribe to our YouTube Channel!
Video Transcript
let's talk about soldering [Music] in the past I've done videos and discussed the topic and showed people how to solder I also promised that I would come back and do a more in-depth detailed video on soldering and the techniques that I use when I talk to builders I know that a lot of guys really have a difficult time with soldering just can't get it figured out doesn't work becomes a point of frustration I get some guys who even asked me to solder up their components which I really don't mind but knowing how to solder is an important thing in this hobby and it really doesn't take much to do it right so I'll show you my techniques and again if you look on YouTube you're gonna find hundreds if not thousands of videos on how to solder and I'm just going to add my two cents to that whole process but I want to show you how I solder and it seems to work for me I've been doing a lot of soldering through all the years even before cigar box guitars and this kind of works for me let me show you what I do first thing we do is talk about solder itself you buy it on a spool I like to buy the point zero three three small diameter solder works out really well the larger diameter Sauter's they're just too cumbersome and they don't tend to work well for me so I stick with a small stuff solder is a material that's made of two things lead and ten it has a very low melting temperature about to degrees and when you melt it it becomes a liquid and it will flow into a joint if you're joining two wires or a wire in the tab the solder will flow into that joint and when it cools and it solidifies it becomes a nice electrical connection and also a nice mechanical connection to heat up this solder and to get a flow you need a soldering iron this is a little cheapo Waller that I have really small lightweight works pretty well probably it gets somewhere between and degrees this is watts but you can see it does a really good job of melting the solder let's talk about my process and what I like to do is I like to talk about soldering as being kind of a two-step process I prepare two separate components and then I join them together so there's actually again two steps here and let's let's show you where I start if I'm using some wire what I do is I come in and I strip it back you know at least an inch and pull off the outer insulation and then open up the inside and what you'll find is there's usually a jacket and what I'll do is again I'll twist those wires together get them all pulled together make sure and look that you don't have any strays laying in there because those are a potential source of a problem so I've got the outside jacket pulled together and I've got it all spun up and it looks pretty good I come in on the inside and I take about a quarter of an inch a little bit more than a quarter inch and I strip the inside this happens to be the white wire which is the hot wire and I grab those wires and rather than trying to twist them what I find works really well is to actually twist the bigger wire itself and so now you have it spun together and it works really well so again as I talked about my two-step process the first thing I'm going to do is I'm gonna come in and solder these the actual term is tending on so again I put them in my helping hands which is just a really great tool to have a way to hold wiring components while you're soldering I take my soldering iron it's good to have a little paper towel that's muy some guys use a sponge and get it moist and what it does is again because the soldering iron is so hot and there's moisture in there it kind of steam cleans the tip and then you need to come back and you need to retain the the tip put a little solder on there if you get a little bit too much you can kind of flick it off then I just lay the soldering iron underneath the wires and all of a sudden and very quickly you can see that it melts the solder and it actually through capillary action runs the entire length I'm going to come over and do the same thing on the ground and now how you have to both of these wires you can take a look at them and inspect them closely sometimes you'll get kind of a chunk of solder out here at the end it's no problem to come in and trim that off I usually like to shorten these a little bit if I start off with a quarter of an inch or more I like to trim them down to just a little bit more than an eighth of an inch so I've got those trimmed up and ready to go and I'm going to be installing those on a jack but the first thing we need to do is kind of understand the jack and how it operates because I do get a lot of questions when guys have a real bad hum a real bad sound and one of the first things I always do is make sure that they've connected the ground and the hot to the jack correctly that seems to be kind of a popular problem a typical mistake that a lot of guys use so let's take a look more closely at a jack so we know which one is the ground and which one is the hot if you look at a plug you'll see a long center section and that happens to be the ground on the plug and the end piece the little nub out here on the end that's actually the hot and when you put it in a jack you can kind of see how the connection is made there's this long tab that comes out reaches out and touches again that hot tip out there and then on the inside what you can see if you look closely as you'll notice that there's a ring down here that happens to made up with that ground section and then you can kind of follow them around and see where they go and you can notice that the ground one goes over to this tab and the hot snakes its way around to the backside to this tab so now we know which one is the hot and which one is the ground and so we're able to make the connections again and using my technique of free soldering the components what I like to do is come in and put some solder on the tabs there are these holes there and you often think you're supposed to stick your wire through there and solder it but that's not necessary so I stick the soldering iron in there and I come up with a nice little puddle of solder if you're looking at it closely you can kind of see what I've done is again puts enough solder on there to build these nice little pads of solder now the way this should work out is that we now have the wires that are tend and I'm going to switch over to this because it's connected to the potentiometer we have some wires that are connected we have the ground and then we have the hot and again we know that the one on the left is the ground so all I do is then come back and I'm going to trim this off just a little bit because it's a little bit long come back and touch that solder pad and it will make a connection did it with the ground and now I'm going to do the same thing with the hot and you heat up the solder and it reflows around the connection and you've got a nice connection one thing to be careful is when you're doing the jacks is make sure that you keep the wires fairly short because if you make them too long there's a possibility that that ground could interfere with the jack and you'll have a real problem on your hands the next thing I want to talk about is soldering to a potentiometer and as you know and as we've discussed most often the volume pot is actually where all of the grounds connect it's kind of a what I call ground central that's where all the connections go for the ground as you can see this jack I have already by soldering the jack on I've now got it connected and I've connected the hot to the center lug and I've connected the ground to the back of the solder of the volume pot so let's take a look at that and we'll make again a nice little connection there because a pot has a lot of metal it can absorb a lot of heat it's kind of like a big heat sink so it takes a little bit longer to get a solder pad on there and so what you have to do is you have to heat up the back let the solder set there for soldering iron set there first few seconds and then we come in and we begin to flow a nice little pad of solder usually I'm already ready with my pretend wire and I just set it on there and let it and now I have a nice connection if you need to you can come back and you can add a little bit more solder and you get a nice connection then you could come back and depending on where this wire needs to go maybe it needs to go to the pickup or go to one of the tabs you can make that connection well I hope this is helpful again my idea is to solder there two components individually and then heat them up and put them together and you'll get your nice final connection hope this helps Thanks